Tin Can Sewing Caddy & Pincushion
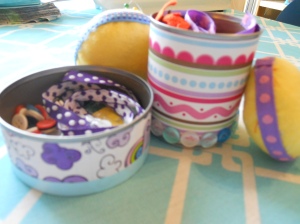
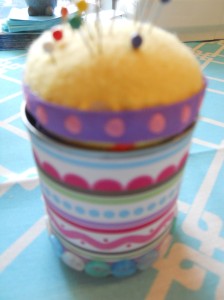
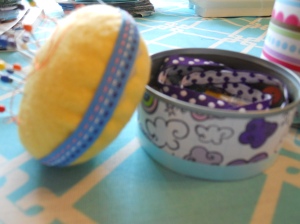
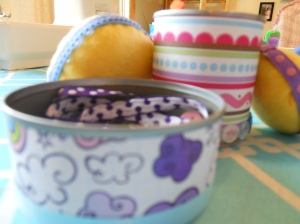
These are my two creations. One can was originally a can of tomato sauce, and the other a can of tuna (obvi, I washed them really well!)
The Process:
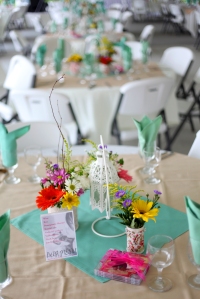
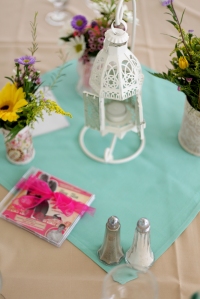
I enjoyed this project mostly because I have a soft spot in my heart for the re-use of tin cans. Why? Well, Lars and I used them as our centerpieces for our wedding almost two years ago. They made for much prettier design than you may be thinking. Our wedding was a very “home-made” event. We had about 25 tables and we used three cans per table as small vases. We covered three different sizes (tomato paste, soup, and crushed tomatoes) in fabric and lace. It was definitely a team effort. My mom, mom-mom and I spent many hours in the craft room hot gluing. We made nearly 100 decorative vases out of otherwise tossed tin cans. Our florist was also a huge contributor, as he collected the cans from us mere days before the big event and filled them with beautiful wild flowers. Check it out:
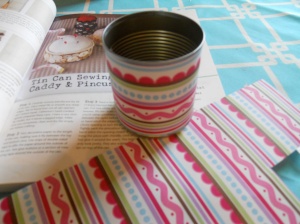
So, as you can see, I already had an affinity for such a project. This time I covered the cans with scrap paper, which was even easier than fabric. I then covered with buttons and ribbon. That was the easy part. The pincushion was a little more challenging for me, as I am a terrible seamstress. BUT I did my best whip stitch! I sewed two circular pieces of an old sweater together and stuffed with poly-fill. To give the cushion a more finished look, I trimmed it with some ribbon I had. I just hot glued the ribbon on the seam, hiding my sloppy sewing. 😉
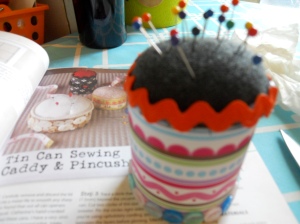
First attempt finished. I didn't love the way the pincushion part turned out, so I recreated it later.
Materials:
Scrap decorative paper (I have TONS, as I love making invitations and other printed designs.)
Needle and thread (I also already had this. It doesn’t really matter what color thread you use because you cover the sewn seam with ribbon or rick rack.)
An old sweater (We have lots of shrunken ones!)
Buttons or any other decorative odds and ends you can dig up.
Glue gun
Double stick tape $3.50 at Target
Poly-fill $3.99 for a HUGE bag at AC Moore
Tin Cans!
*Again, I had to buy virtually nothing. So much of this project was built off things I had lying around the house.
The Verdict:
I enjoyed this project. It was so far the easiest and least time consuming. I actually made the first one while baking dozens of cookies for Lars, who had forgotten that it was “pot-luck day” at his class. I have had a SUPER busy week with some of my design jobs, and I was nervous that I wouldn’t get to this. It took me a matter of 15 minutes to cover and decorate the cans. The sewing was pretty quick too, especially if you are better at that than me! I think these little creations would make great gifts for anyone you know who has a “craft room” or just enjoys sewing now and then. I actually love the idea of using just the cans for containers. The taller can would be great as a pencil jar. The tuna can is perfect for paper clips and thumb tacks. This is definitely something I can see myself making more of as I attempt to organize my home! Plus, who doesn’t use several tin cans in a week of dinners? Easy, easy, easy and lovely!
Next Week
Okay, don’t judge me. I am taking a week off (wince)! Lars, Noo and I are out of town this weekend, and this week is a HUGE production week for one of my projects. If it makes you feel any better, I will be doing my eco-friendly duty for the week. The project I am completing is the wedding invitation package printed on seeded wild flower paper, so I have not forgotten about the good ol’ earth! Pics of that are coming soon, as well as Lars’ graduation announcements and another project or two. I promise to be back next week and ready to get Pretty Crafty!


How lovely! Thank you so much for the idea! I definitely need help with organizing! 🙂
I’m so glad you found this useful! I’m sure you have tons of scrap paper and buttons around to decorate the cans too! Your work is gorgeous. 🙂
Hi Lars love,
If you want to make a tin can pencil holder that won’t fall over easily, pour a little Plaster of Paris in the bottom and allow it to set. If you want to, you can scratch a message or name in the plaster if you want to give it as a gift.
Love your pin cushion/storage boxes!